JULY 2026 · 5 min · OUTILS · ART
The film grain your visuals are missing
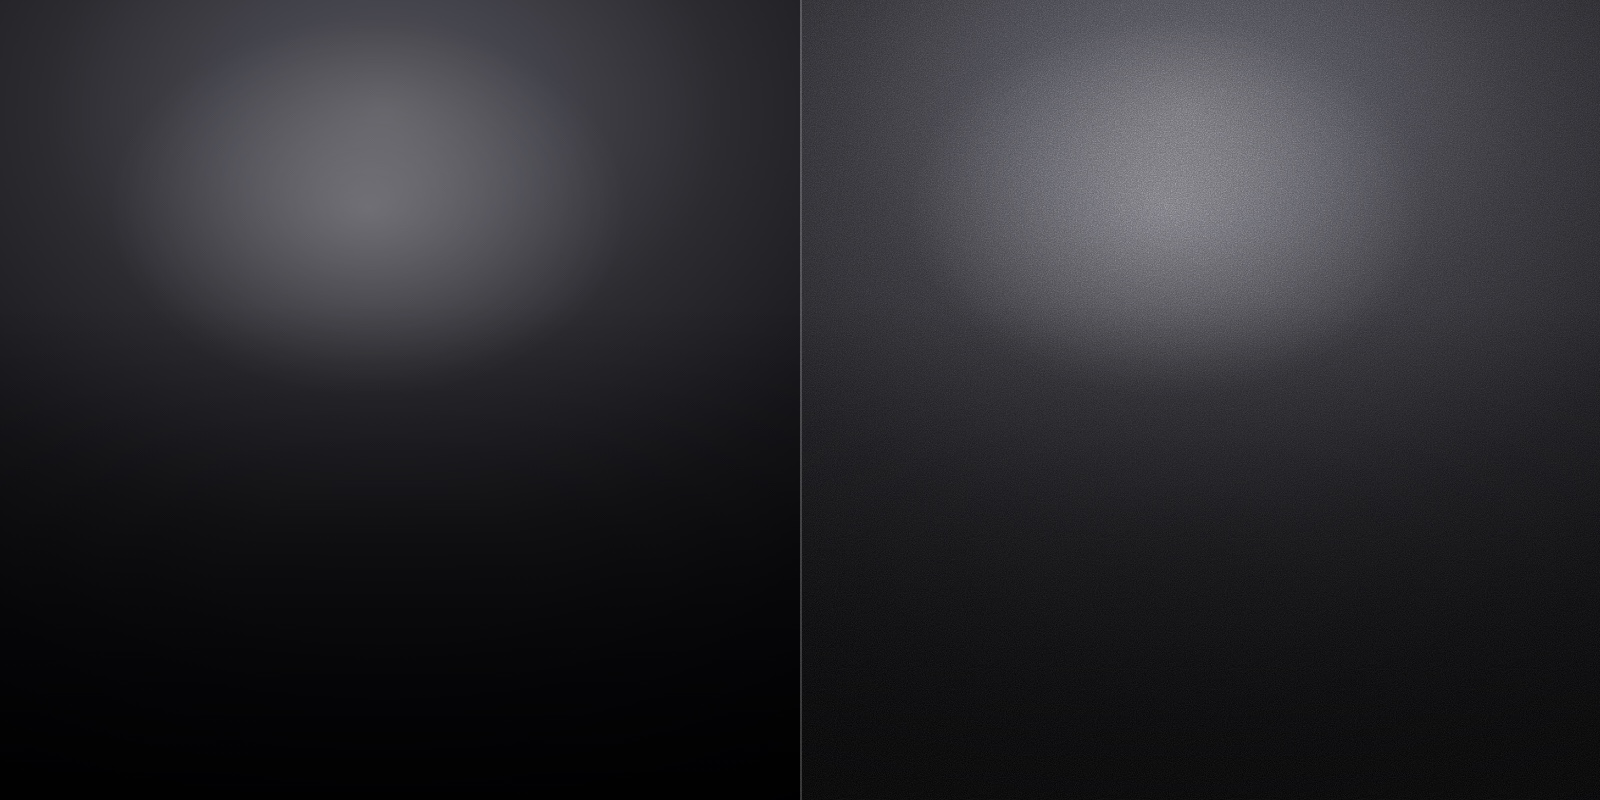
You know this look: clean, sharp, and somehow flat. An image straight out of a render engine or an AI model, with no material, no soul. Add grain and the same image breathes. It has texture. It looks shot on film instead of computed by a machine.
Most designers and creators pay for a plugin or a subscription just for this. The grain you see above is two layers of SVG noise. No plugin, no subscription, and the full recipe is in this article.
12 EUR. This recipe already exported as transparent PNG overlays, several intensities.
What is a film grain overlay?
A film grain overlay is a noise layer placed on top of an image to mimic the texture of photographic or cinema film. Good grain is not a scanned film frame slapped on top: it is generated noise, adjustable at the source, that stays crisp at any export size.
The recipe: two noise layers, not a texture file
Grain that holds up over time is generated in SVG with the feTurbulence filter in fractalNoise mode. Two stacked layers, each with its own job.
Main layer: 200 pixel tile, baseFrequency at 0.82, 3 octaves, opacity 0.85, overlay blend mode. This is the visible texture, the grain you notice first.
Fine layer: 130 pixel tile, baseFrequency at 0.95, 2 octaves, opacity 0.12, normal blend mode. Its job is precise: keep grain visible deep into the darkest areas, where the main layer in overlay mode loses its effect.
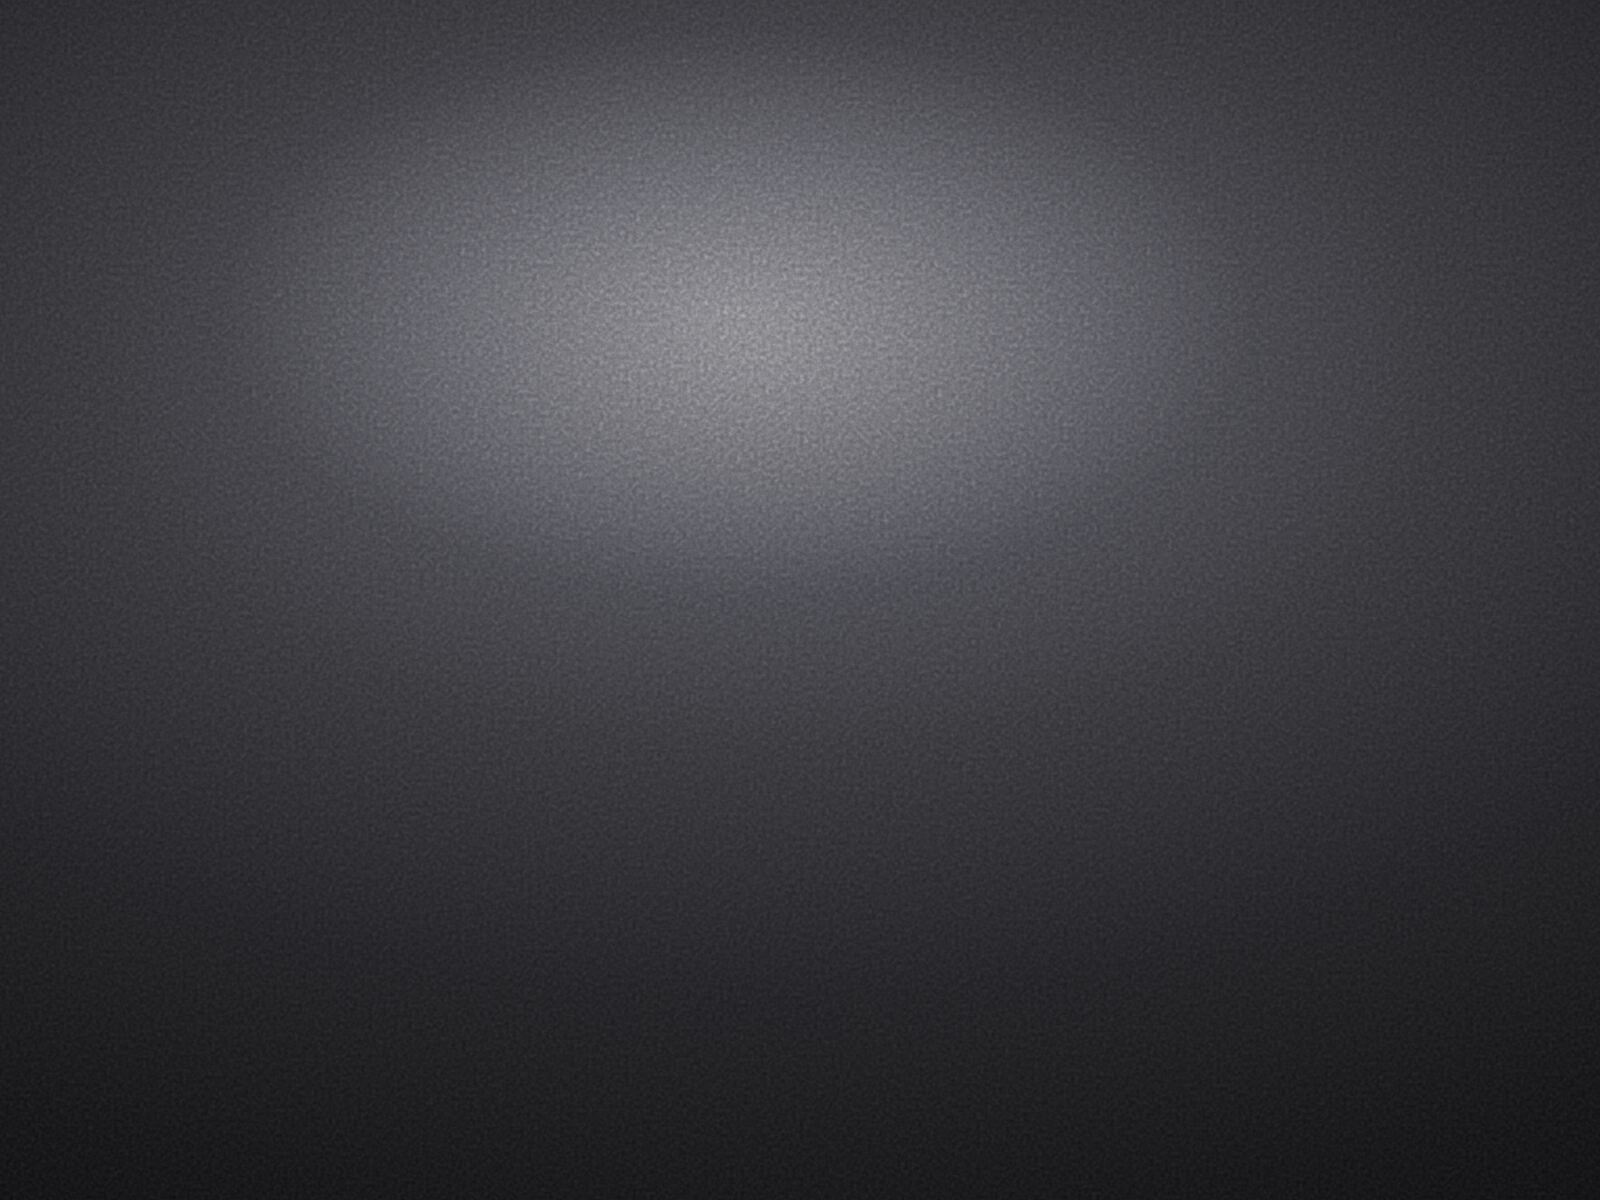
The detail most tutorials skip: run both layers through feColorMatrix with saturation at zero. Without it, generated noise keeps parasitic tints, often greenish or purplish depending on the render engine, and the grain looks digital. Monochrome grain, always.
Why an overlay instead of a plugin?
A grain plugin sells you a fixed look: a few presets, an intensity slider, and you are locked into its engine. Generated grain is tuned at the source. Change the frequency, the octaves, the opacity, and you go from fine jewelry grain to worn, pushed-film grain without switching tools.
A concrete example of tuning at the source: on a light background, the main layer at 0.85 opacity crushes the subject. I drop it to around 0.42 and the grain becomes material again instead of a veil. A closed plugin never gives you that level of control.
The Bruit page: this entire site theme runs on this exact recipe.
What it changes in practice
Zero subscription for an effect you generate once and apply everywhere: websites, social visuals, product mockups, posters. Brand consistency comes from exactly this. The same grain on everything, like a signature people recognize without being able to name it.
One easing curve: the single-signature logic, on the animation side (article in French).
The recipe, ready made
I extracted this grain from my own site theme and exported it as transparent PNGs, several intensities, ready to drop on any visual without touching a line of SVG. The Bruit pack is this recipe without having to rebuild it.
12 EUR. Transparent PNG overlays, several intensities, secure checkout via Gumroad.
Not ready to pay yet? The free tiger wallpaper already carries a version of this grain, in real use, on a full visual.
Free. The same grain, applied to a full visual, so you can see before you buy.